Brachioplasty
Also known as brachioplasty, arm lift removes excess fat and skin from the upper arm to create a profile that is smoother and firmer.
Consultation with Dr Philip Fleming is the best way to determine how arm lift can help you achieve your personal goals. Dr Fleming is certified by the American Board of Plastic Surgery, Inc and he has more than 25 years of experience in performing arm lift. The following is an overview of the arm lift procedure.
Step 1 – Anesthesia
Medications are administered for your comfort during the surgical procedures. The choices include intravenous sedation and general anesthesia. Your doctor will recommend the best choice for you.
Step 2 – The incision
Incision length and pattern depend on the amount and location of excess skin to be removed, as well as the best judgment of your plastic surgeon.
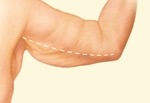
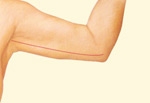
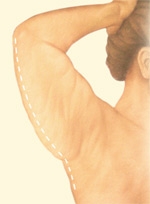
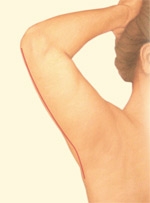
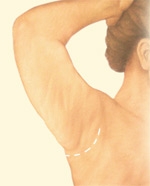
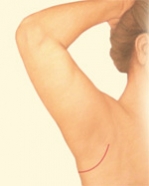
Incisions are generally placed on the inside of the arm or on the back of the arm, depending on the surgeon’s preference, and may extend from the underarm (axilla) to just above the elbow. If fat is to be reduced during your arm lift, it will be excised or treated with liposuction.
Inner Arm Incision
Depending on your specific conditions, incisions may be more limited. Then, underlying supportive tissue is tightened and reshaped with internal sutures. Finally, the skin is smoothed over the new contour of your arm.
Back of Arm Incision
Minimal Incision
Step 3 – Closing the incisions
Incisions are closed with layered sutures in the deep tissue. Sutures beneath the skin and skin adhesive or surgical tape are used to close the skin. Suction drains may be used for 7 to 14 days to reduce swelling and promote faster healing. Over time the incision lines will fade.
Step 4 – See the results
The smoother, tighter contours that result from brachioplasty are apparent almost immediately following your procedure, although initial results will be somewhat obscured by swelling and bruising. Your new, shapely and toned upper arm is dramatically improved both in appearance and feel.


